
Putting cameras into smartphones suddenly made everyone photographers and video experts quickly. Just taking a photo or a video is not enough anymore, it has to be edited to perfection especially if it’s going to be a part of a company’s website, or published on social media platforms. After all, picture, or better yet video, is worth a thousand words, so you better make sure it stands out. Here are some of the best photo and video editing tools to help you out achieve that perfect impression.
Table of Contents
Levels Adjustments
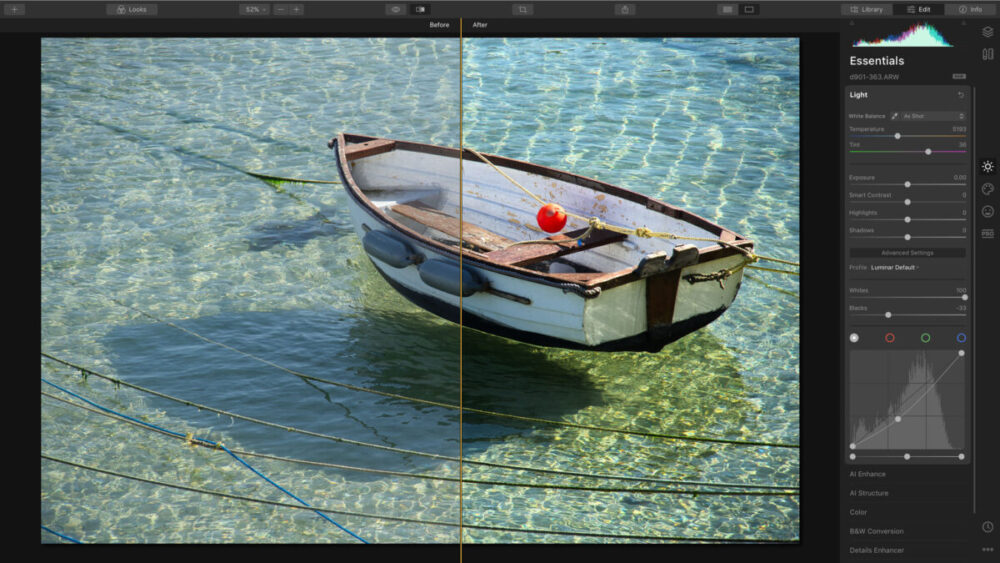
Level adjustments are going to add or eliminate black and white colors to your image. If you look at the chart that’s usually on the right side of every photo editing software, you’ll see that it reflects the use of pure black and pure white colors, as well as every shade in between. The chart represents image tones, from black, that is usually marked as 0, and pure white as 255. Gray is set at 128. Also, there is another way of grading from 0-100% from black to white respectively. You’ll notice that your chart doesn’t start at 0, nor it ends at 255. This is because there are no pure black and white spots on your image. If you move the scale from 0 to where your image starts, you’ll see that the photo is going to get darker parts, like shades for example. Now, try to hold ALT and move the scale from 255, or pure white, and the opposite will happen; your image will start to expose some light spots, making them whiter. What’s happening is that software is redistributing tones of colors across the image. Sliding this histogram scale will sometimes give you blue or red color, which means that these areas on the photo have reached pure blue or red and that there might not be any other tone left in that particular spot.
Resizing
First off, every image you download sits on the invisible canvas. You can’t see it because it’s the same size as the photo by default. You can change the canvas size and make it visible, which will give your photo a white frame without changing the size of the image itself. Now, the easiest way to resize the image is probably by clicking the document folder where you’ll find different options. Before changing the numbers, pay attention to the units you’re working with. This can be pixels, points, inches, and so on. Once you decide your measurement, you can start playing around with your photo size. If you change the height of the image, the width will automatically change to keep the proportion of the picture. However, you can also change just one aspect and lock the other so that it stays the same. This can affect the quality of your photo making it look washed out. A good way to keep the photo quality while resizing and editing is using DVDFab software to enhance the clipped images. Another option you have is DPI which controls the number of pixels or points in every image.
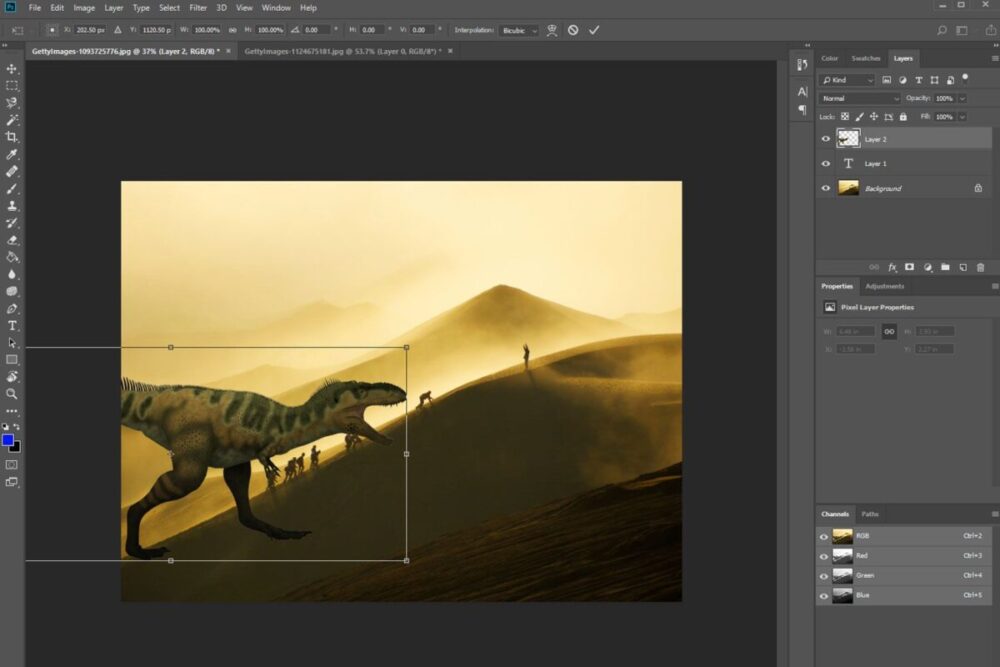
Layers
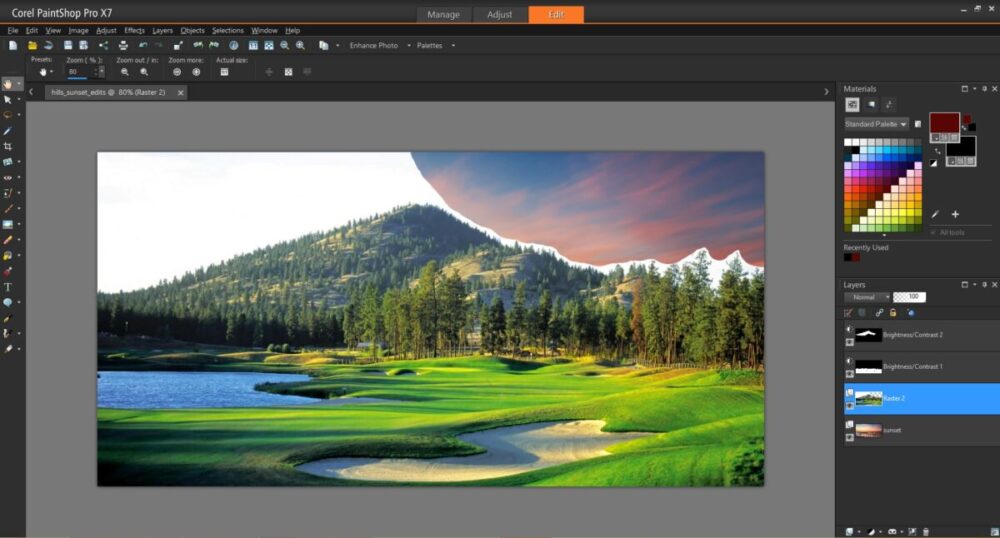
Layers are a very powerful editing tool. Unfortunately, many people find this feature to be complex and confusing, thus avoiding to make use of them. When starting to use any software it’s easy to fall into the playing mode with all sorts of adjustments to the photo. Adjusting curve can only go so far, and every change reduces the image quality. Going back and forth with just the adjustment curve is time-consuming since every time you change it you have to undo or redo the changes. A better option is to apply adjustments as a layer. With adding a curve adjustment layer, we can continue to make changes even after we’ve applied later changes. Usually, on the right side of the image, you can see your original image along with all layers that you applied. This is called the layer stack. Each layer changes the previous one, adding or reducing the effect on the photo. Layers can be turned on or off depending on whether you want them to mix in, or maybe eliminate some of them. The combinations are infinite, and you are free to experiment with lightning, colors, and shades without greatly reducing the quality of the original image. Also, the layer can be applied only in one area of the photo, large or small, without affecting the rest of the picture. Layers have massive use in blending two pictures in one. This is used especially in landscaping images where layers can be different in strength, where one image is overexposed and the other is underexposed. Combining them with layers it can produce a fairytale landscape photo.
Blending modes
As mentioned above, layers are often used with blending modes. The blending controls how a layer reacts with other layers in the layer stack. One of the simplest blending modes to use is called multiply. This refers to multiplying modified layers producing different effects. Remember the black and white scale? Let’s say you pick one layer and change its black-white ratio. It will change the tones on the original photo that is affected only by that one layer. The photo might become lighter or darker, or expose some other colors that have reached its limit to 100%, like blue and red, as we already mentioned. Now, when you’re satisfied with the look of the image in that one layer, you can multiply it with the rest of the layers from the layer stack, or choose to combine with just some of them. This is blending, since you’re putting together original photos with various layers one on top of each other (pancake effect?) allowing them to blend together. Overlays and soft light are two other options in blending that cause the contrast on the photo. It can enhance one area while leaving the rest in the original state. In layman terms, these options make dark image tones darker, and light image tones lighter.
Playing with your image and video software will give you the best experience and insight into the ways you can change, cut, or blend your photos and videos. It takes time to get ahold of the hundreds of features available on every single platform. These are some basic, simple editing options that can serve you as a great starting point in your journey as a professional photographer or a video editor.


