
Java is a fundamental language in modern programming, which is highly popular for its flexibility and reliability. Whether you’re an experienced developer or a beginner, knowing how to set up and use the Java development environment is important.
Creating effective and error-free Java applications hinges on having a well-organized development setup in a tech-savvy landscape.
Whether writing a basic “Hello World” program or managing complicated projects, your Java development environment will stay by your side as a trusty companion.
This blog is your guide to making sense of Java development environments. We will simplify the major aspects, help you install the necessary tools, and share Java basics for beginners to ensure your setup is functional and optimized for productivity and security.
So, continue with this journey to better knowledge about Java development.
Table of Contents
What is a Java Development Environment?

A Java development environment is your home base where you craft, test, and refine your Java applications. It is like your toolkit with everything you need to build Java software.
A Java development environment typically consists of several key components:
- Java Development Kit (JDK): JDK is the core of the Java development environment. It consists of the Java Runtime Environment (JRE), which enables your applications to run and the Java Compiler for converting your human-readable code into a machine-readable format.
- Integrated Development Environment (IDE): An IDE is your coding cockpit. It is the place wherein a developer writes, debugs, and manages the Java code. IDEs like Eclipse, IntelliJ IDEA, and NetBeans offer a user-friendly interface and a range of powerful tools to streamline your development process.
- Build Tools: Tools like Apache Maven and Gradle help you manage dependencies, compile your code, and package your applications. They help maintain various tedious tasks, making the development workflow smoother.
- Libraries and Frameworks: These are pre-built pieces of code that add functionality to your Java projects. Libraries and frameworks can save you time by providing solutions for common problems.
Installing the Java Development Kit (JDK)
The JDK is the heart of any Java development environment. This toolkit gives you the power to develop different Java applications. Here’s a simplified guide to getting it up and running:
- Download: Head to the official Oracle or OpenJDK website and download the JDK version compatible with your operating system.
- Installation: Once the download is complete, run the installer and follow the on-screen instructions. The installation process typically involves selecting a destination folder and confirming installation settings.
- Verify Installation: After installation, it’s essential to verify that the JDK is correctly installed. You can do this by opening a command prompt and typing java -version. You’re good to go if it displays the JDK version you installed!
With the JDK installed, you have the foundation for Java development.
Choosing the Right Integrated Development Environment (IDE)
Now that you have the JDK ready, choose the right Integrated Development Environment or IDE. Your choice of IDE can significantly impact your development experience. Here’s what you need to consider:
- IDE Options: There are several popular Java IDEs available, including Eclipse, IntelliJ IDEA, and NetBeans. Each has unique features and strengths, so take the time to explore them to see which aligns best with your workflow and preferences.
- Ease of Use: A good IDE should have an intuitive interface, making it easy for you to write, edit, and organize your code. It should also offer features like code completion and debugging tools to boost productivity.
- Community and Support: An active user community and robust developer support can be invaluable. If you run into issues or have questions, knowing there’s a community to turn to for help is reassuring.
- Customization: Look for an IDE that allows you to tailor your development environment to your specific needs. This might include adding plugins or customizing the interface.
Remember, the IDE you choose is a personal preference, so don’t hesitate to experiment with a few options before settling on the one that suits you best.
With the right IDE, you can confidently start coding in Java.
Configuring Build Tools
Build tools like Apache Maven and Gradle are crucial in streamlining development. Here’s how to get started with configuring them:
- Select a Build Tool: Pick a build tool that matches the needs of your project if you still need to do so. Popular options include Gradle and Apache Maven. Install the system with the chosen build tool.
- Project Configuration: Make a configuration file for your build tool in your project directory. Project specifics, dependencies, and build parameters are described in these files.
- Dependency Management: Define and control the dependencies on external libraries that your project needs using the dependency management features of your build tool. This makes integrating libraries in your project easier.
- Build and Packaging: Set up the development tool to generate your Java code, execute tests, and distribute your application. Simple commands or the definition of build profiles in your configuration files are frequently used.
- Automation: Make use of the automation tools in your build tool. For example, automating building, testing, and packaging operations will improve the productivity of your development workflow.
Managing Libraries and Frameworks
Libraries and frameworks are the building blocks of your Java applications. Here’s how to manage them effectively:
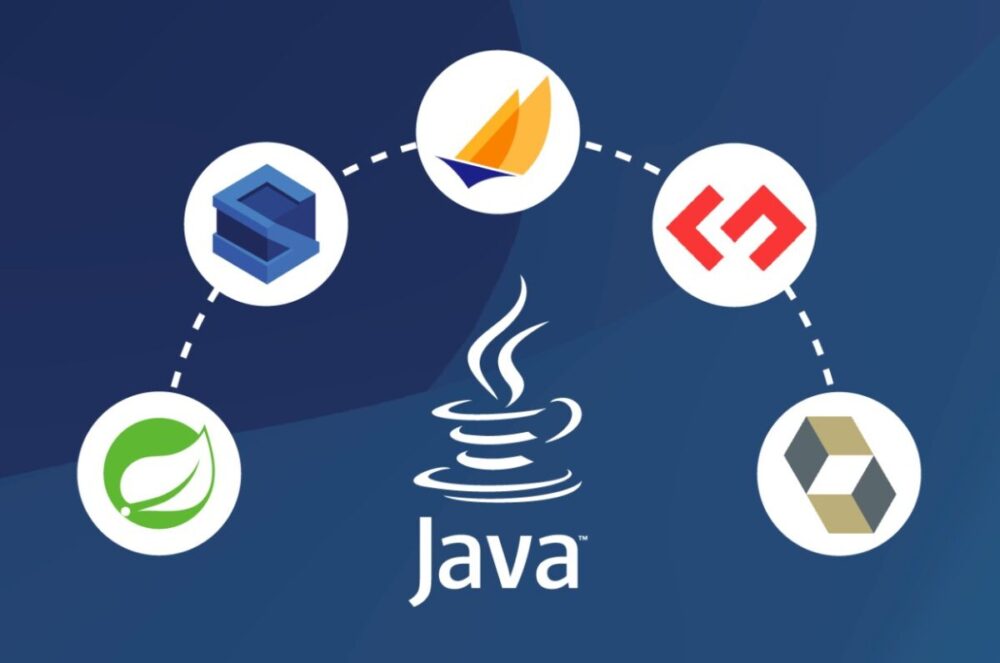
- Choosing Libraries and Frameworks: Choose frameworks and libraries that are compatible with the needs of your project. Apache Commons and Guava are two well-liked Java libraries, and frameworks such as Spring and Hibernate provide reliable solutions for various applications.
- Adding Libraries: Download the libraries, then add them to your project. This is frequently accomplished by including dependence declarations in the configuration file for your build tool, which makes managing library versioning simpler.
- Version Control: Keep track of library versions to ensure compatibility and security. Most build tools allow you to specify the exact version of a library to use, reducing the risk of issues down the line.
- Documentation: Familiarize yourself with the documentation for the libraries and frameworks you use. Understanding how to leverage their features can significantly speed up your development.
- Maintenance: Regularly update libraries and frameworks to benefit from bug fixes, security patches, and new features. Make this a part of your project’s maintenance routine.
Debugging and Testing Tools
Effective debugging and testing are essential for producing high-quality Java applications:
- IDE Debugging Tools: Most Java IDEs come with built-in debugging tools. Learn how to set breakpoints, step through code, and inspect variables. Debugging helps identify and resolve issues in your code.
- Unit Testing: Write unit tests using frameworks like JUnit or TestNG to verify that individual parts of your code work as expected. Automating tests ensures that changes don’t introduce new bugs.
- Integration Testing: Perform integration tests to validate how different components of your application work together. Tools like Mockito can help simulate dependencies for testing.
- Code Quality Tools: Utilize code quality tools like FindBugs or SonarQube to identify potential issues, code smells, and security vulnerabilities in your codebase.
- Continuous Integration (CI): Implement CI pipelines using platforms like Jenkins, Travis CI, or CircleCI to automate testing and ensure code quality throughout development.
Conclusion

A well-configured environment is like a compass that helps you navigate through the whole process of Java development. A streamlined development environment helps boost productivity, reduces errors, and boosts coding confidence.
Whether developing a small or a complicated enterprise application, investing time in understanding and optimizing your Java development environment is fundamental to success in Java programming.
You can visit kandi, a provider of various toolkits and solutions for developers to help them build their applications on time.
Kandi also clears Java basics for beginners to better understand and complete projects on time.
")
")


