
Table of Contents
Study Art and Science Using a Child’s Love of Rocks
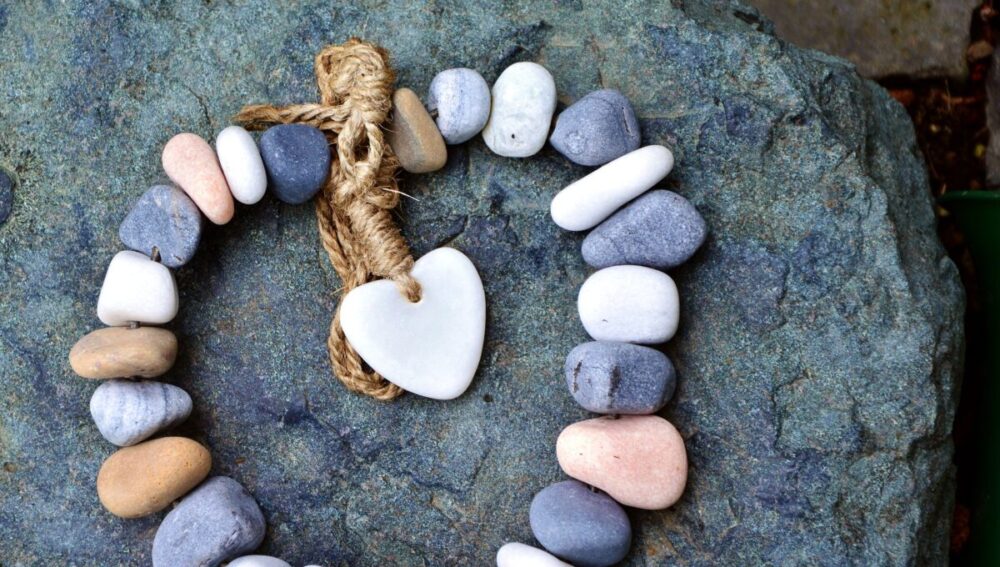
At some point in every child’s life, he or she will become a rockhound, finding solace and vast entertainment in collecting and storing (much to their parent’s dismay) more rocks and pebbles than any one person should have. When the rock-mania strikes, parents should take this perfect opportunity to introduce both the science of rocks as well as the artistic beauty of them.
Ideas For Collecting Rocks With Children
The great thing about rock hunting is that it can be done almost anywhere. From a gravel driveway to the seashore, rocks are literally everywhere. When rock hunting with children, reinforce to them that every rock holds a story – a story of where it came from and how it formed and where it has been. Remind them to choose special stories to take home and that they will have to carry the collection home—a tip that will often make them think twice about the boulder that they are eyeing up.
Depending on your location and the surrounding geology, many different rock types can be available. If you are in an area that has seen glacial activity, you may be able to find a wide variety of rocks. Stream beds can be an excellent place to find many different types. If you find yourself in this sort of area, try to give your rock collecting a theme, such as:
- A “rainbow” of rocks of different colors
- A series of rocks in a graduated size so that each one is slightly bigger than the rest
- Rocks in certain shapes such as round, flat, square, and triangular
Science Activity to Do With Your Rock Collection
Scientists are well known for classifying and describing. A simple activity for children is to let them be geologists. Assign each rock its own index card or notebook page. Let the child draw the rock and describe it, making sure to record its size, shape, smoothness, grain-size, color, and general feel. Make sure the child uses his or her own words and thoughts, and finally let the child give the rock a name based on the descriptions.
For older children, a rock and mineral guidebook can help to determine the actual name of the rock.
Artistic Activity to Do With Your Rock Collection

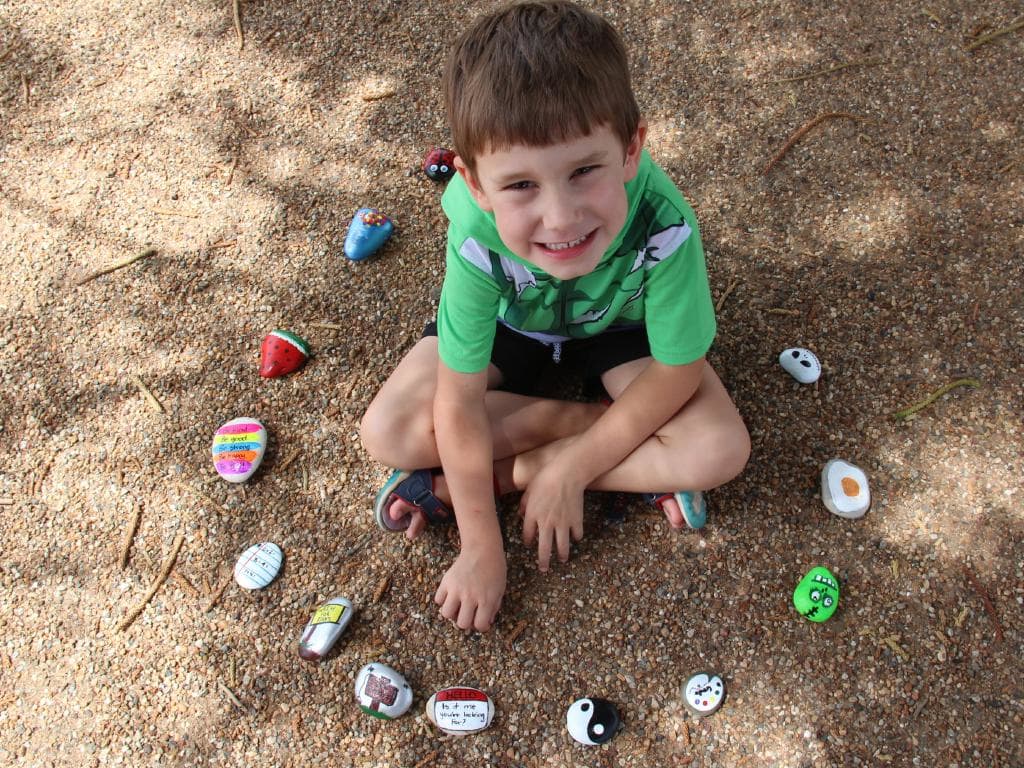
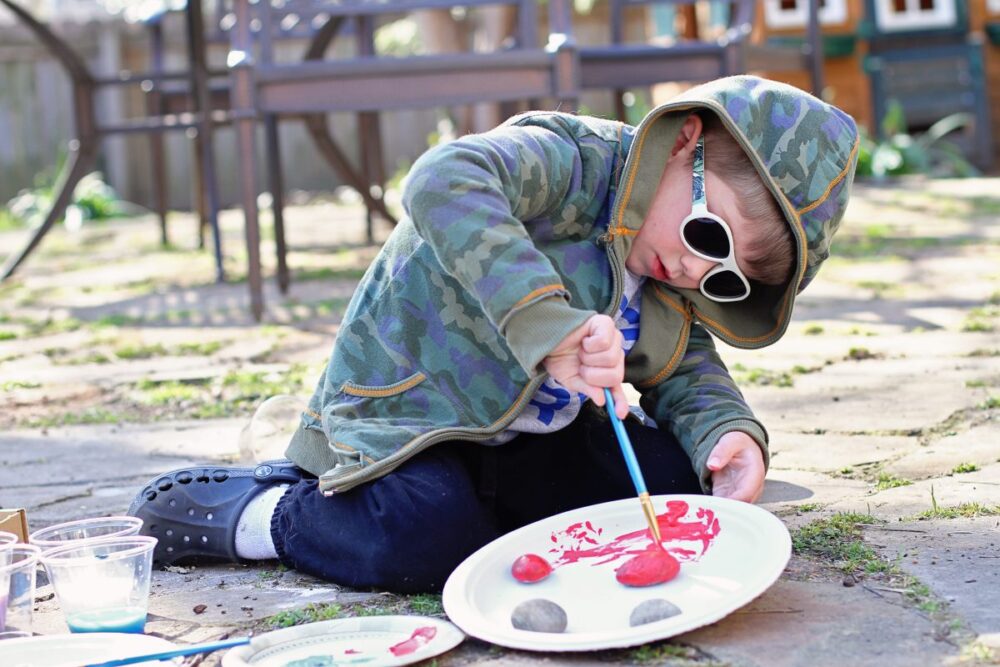
Rocks have long been admired by children as beautiful. Let them experiment with the look of the rocks by providing a paintbrush and water. By simply “painting” on water, rocks have a completely different look; colors and features seem to pop and the rocks appear completely different than they did before.
For a permanent wet look, rocks can be sprayed with lacquer.
Stories to Read About Rocks

Everybody Needs a Rock by Byrd Baylor [Aladdin, 1985] and If You Find A Rock by Peggy Christian [Sandpiper] are two wonderful books to read to children about rock collecting. Each one is inspirational for rockhounds of all ages.
From collecting to the activities, rocks can be simple, cheap, and educational materials for children. Best of all, children enjoy playing with them without even knowing that their playtime is actually learning time.
Windmill Science Project
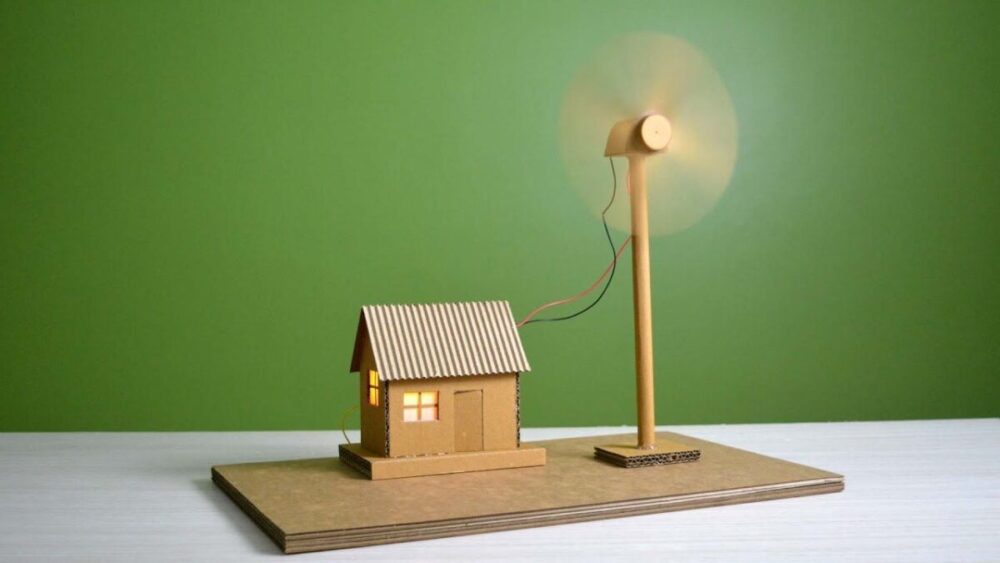
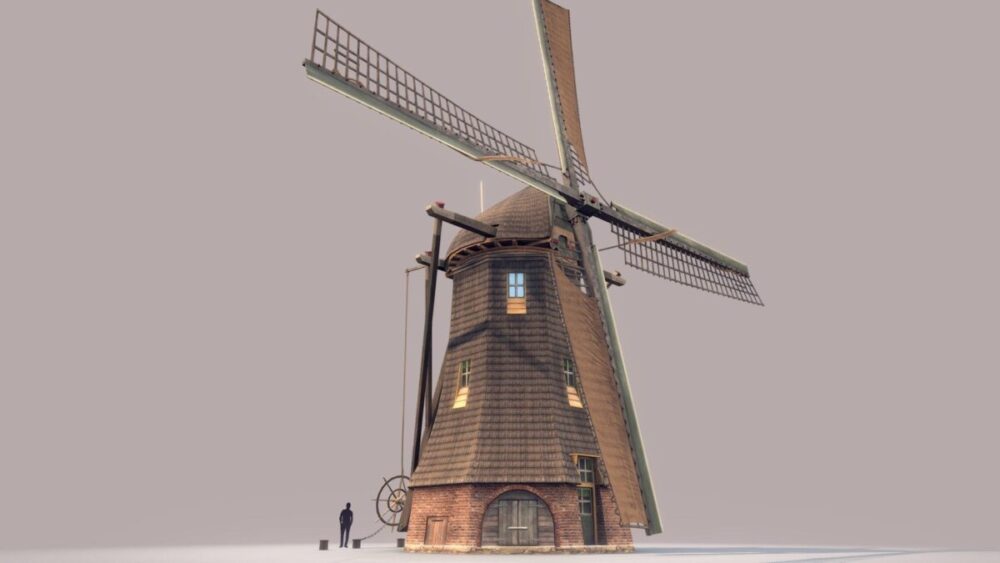
Once used to pump water or grind grain, windmills now generate electricity from the wind. These projects introduce kids to how windmills work.
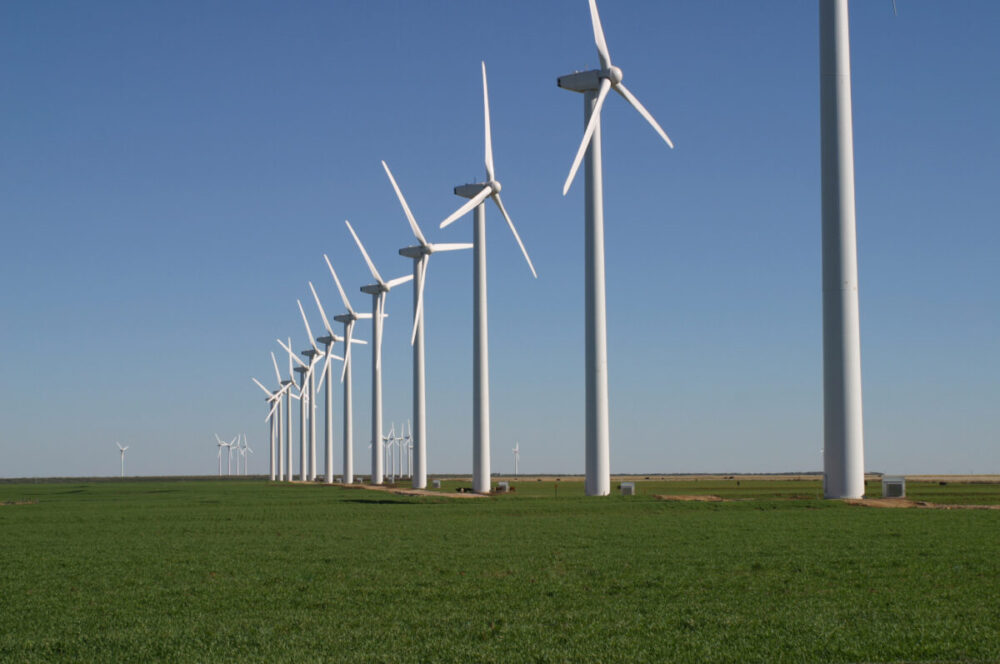
Windmills were used in Persia around 500-900 A.D. for pumping water and grinding grain. Today, windmills generate electricity from wind, one of several sources of renewable energy. Windmills convert the energy of wind into either mechanical or electrical energy. There are two basic types of windmill designs — the horizontal and vertical axis. Both use blades mounted on a post to capture the wind. When windmills are used to generate electricity, they are known as wind turbines.
Model Windmill
Print a template for paper windmill blades, available at education websites. Cut and fold the paper according to the template directions. Punch a hole in the center of the blades and slide a straw halfway through. Attach the blades to the straw with a rubber band. Tie a string between the straw and a foam cup. Hold the straw horizontally between the fingers with the cup hanging below. Blow on the windmill blades so that the straw rotates and the string wraps around it, lifting up the cup.
PVC Windmill
Build a wind turbine stand using PVC pipe that consists of a stable base with a tall vertical piece that curves at the top until horizontal. Insert a short PVC pipe into the end at the top so that it fits snugly, with the end sticking out several inches. Slide another short PVC pipe onto the end so that it moves freely without falling off. Insert a piece of wood snugly into the end of the moveable pipe with a wooden dowel in its center to attach the blades. Cut blades from various materials — such as aluminum plates, cardboard, balsa wood — and attach them to the dowel. Use a household fan to move the blades. Compare the performance of the different blade materials and shapes.
Wind Turbine Height
Measure the height of a wind turbine using a homemade clinometer. Fold a square piece of paper in half to make a triangle with two 45-degree angles. Hold the triangle with the long side — hypotenuse — of the triangle angled toward the top of the wind turbine. Tape a straw to the hypotenuse and tie a weight to a string attached to the top corner of the triangle. Position the triangle so the string lines up with the vertical edge of the paper. Hold the paper at eye level and move away from the tower until the top is visible through the straw. Measure your distance from the tower using a measuring tape. The height of the tower is equal to this distance plus the distance from the ground to your eye.
Best Windmill Location

Once windmills are built they are rarely moved, so it is important to place them in locations with the strongest and most frequent winds. Using an anemometer, measure the wind speed in various locations around the school or park. Measurements should be made over several weeks — or an entire year, if possible — and at various times of the day. Compile all of the data from each site and calculate the average wind speed and the fastest and slowest speeds. Look for locations that have high wind speeds that occur frequently. Also, look for certain times of the day that have greater wind speed.
Conclusion
It’s easy to teach kids when they are learning through fun and engaging activities. These main projects are just two examples among the vast options of activities for kids. Another helpful activity for learning for kids is woodworking, and Sawinery has some good selections of beginner woodworking projects that you can create with your kids while they explore their creativity and their skills in following steps in creating the pieces.


