
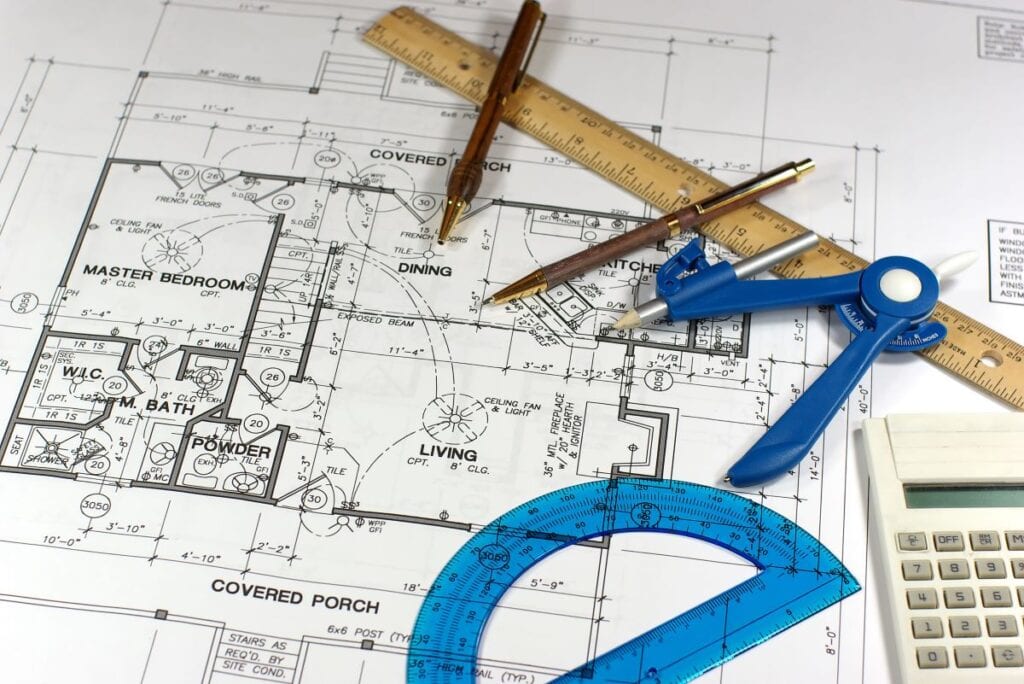
If you’re about to make a floor plan, you better know what you’re doing. This is not an easy job, but it can be done. For one, we do hope that you at least know what a floor plan is and what it includes.
As you can guess it is a plan, which is drawn in the form of a diagram and it represents your floor as viewed from above. It is not limited to one room only, but it can be made from your entire home.
In addition to simple measurements of the rooms, it can also include other parts of your living space such as furniture or some other home appliances. Of course, it can include whatever you want as it is vital for you as a part of your floor plan.
By now you understand the essence of the floor plan and why it can be essential for the outlook of your future home. In some instances, it is even used to depict how your furniture will look, its dimensions, and the position in the home.
Furthermore, it is even more useful in the terms of home installations, plumbing, heating, and other wiring systems. So, now that you know the basics, let’s see how to draw a floor plan in seven easy steps – 2024 guide.
Table of Contents
1. Start With The Area
As with many things regarding our houses it all starts with the location. Which part of your home do you want to put on a floor plan? It is vital to know what you want designed to get it right. Always make a difference between wanting only one room drawn or the whole place.
Furthermore, if your home has more than one floor it’s good to know that each floor needs a separate plan. A new plan for each floor is how professionals are doing it, and you should follow their example. If you don’t trust us, check out foyr.com and see what they have to say on this subject.
2. Measure Everything
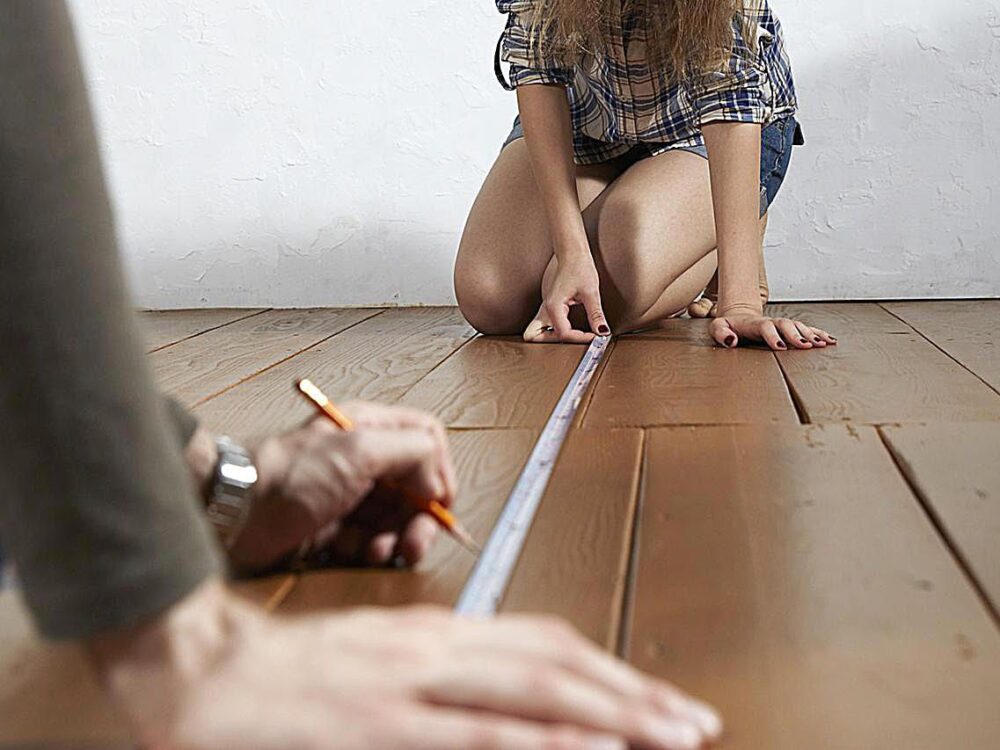
We’re seeing it as if you’re doing a floor plan for an already existing building. If this is the case be sure to take precise measurements of each room and the place as a whole. In the case that you’re doing this for a building that is not yet built, you’ll need to rely on measurements provided by the architect of the place.
This is needed so that you know how to translate it to the paper you’re using the right way. This is vital as you’ll want to have enough space on the plan to add things that you didn’t remember at first. We’ll also give you a little trick here, as it’s best to draw it all with a pencil, and with light tones so that you can erase parts if needed and avoid making permanent mistakes.
3. Scale to Near Perfection
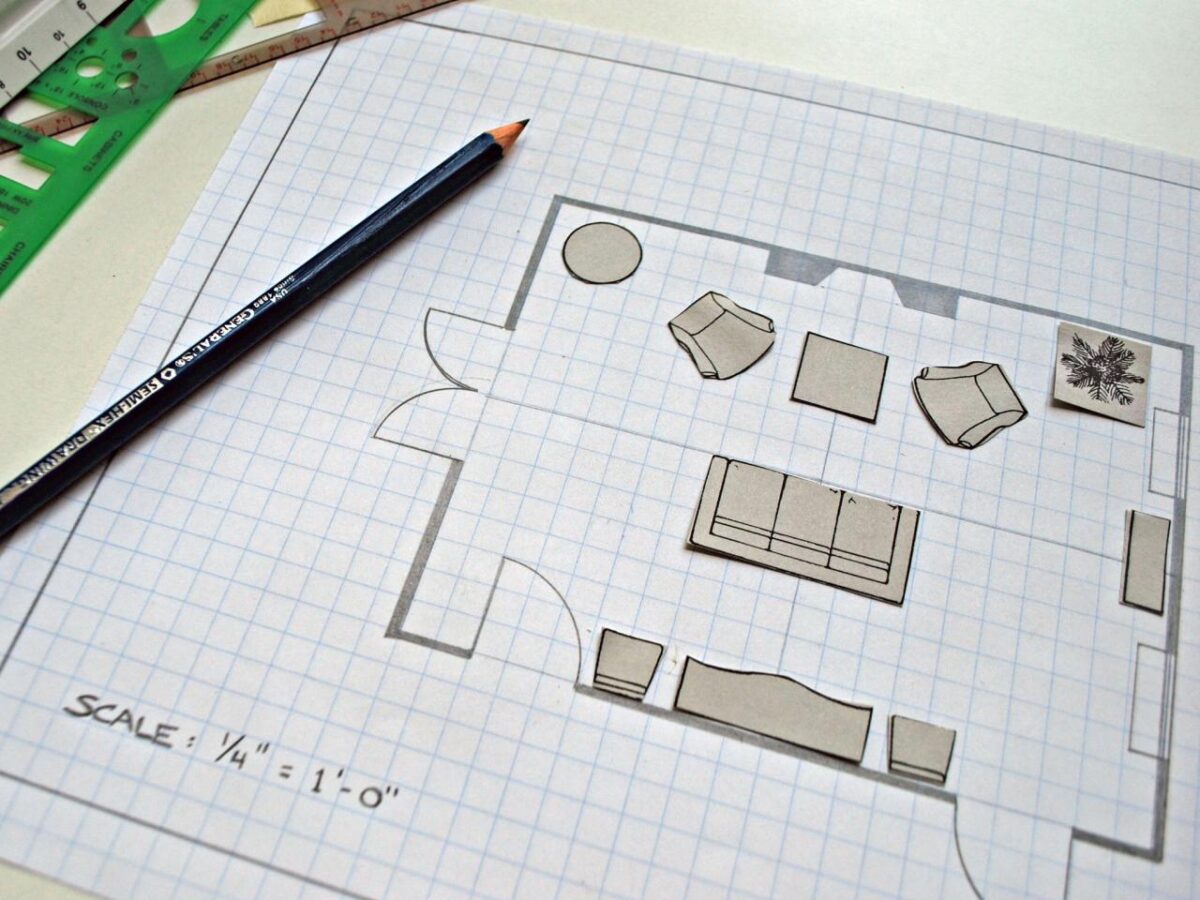
While we’re giving you guidelines to see you as an amateur, you need to put in hours of work to make this plan remotely good. A do-it-yourself floor plan isn’t easy, and you shouldn’t see it as such.
The plan you draw needs to be an accurate representation of the space you’re covering. Measurements are essential in this department. Conversion of these measurements from plan to reality and vice-versa will prove essential for the success of your endeavor.
4. Stick to The Language
A floor plan will not consist only of drawings, but will also have numbers and letters. Of course, it won’t provide you space for lengthy writing, so there are a few things you need to pay attention to. You’ll use signals and symbols to mark the spots, and it’s not unusual for people who draw these plans to use various types of abbreviations.
You’ll be doing the same with your plan. You’re free to sue some you already know or made up in the process. It’s vital to remember them, to always know what you meant when you put it on the plan. Of course, there’s a standard language that people who do this as professionals use, and you should also apply these. It’s not too hard, and with due diligence, you should easily do your part in this department.
5. Think of The Interior

Interior is the most important part of floor planning. There are plenty of things to put inside of your home, and this plan needs to include them from the start if you’re being precise.
We’re talking about furniture, heating, wiring, air condition devices, and any other things you want inside of your house or it simply needs to be there. The same as above, you need to have a clear sight of measurements, and to have a clear vision of the position you want for each of these additions.
6. The View

You know, in some cases, the view sells the property. In this particular case, the matter is much more basic. We’re talking about our basic need – light. You want to have a well-illuminated space when it comes to your home. This is why the position of your windows is vital for your plan.
And we’re not just talking about the windows but about the doors too. You shouldn’t forget even the smallest opening of this kind as it could ruin your living space. The position of doors and windows can do wonders for your home.
The position of them should be based on the sun, as you want to make the best out of daylight. If you’re an amateur in this department you’re free to use the help of a compass which can help you determine the right position for all of it.
7. Elevate the Matters
While this might not make too much sense to you now, add elevation. Elevations bode well with floor plans, and they’re the next step when it comes to these projects. The floor plan is as we said it at the beginning the bird view of your home.
The elevation is the look you have on eye level. It’s ideal to have it for the purpose of installations you want on the inside. Besides, it’s never bad to have two perspectives on the same matter.


")


